- Автоматизация
- Антропология
- Археология
- Архитектура
- Биология
- Ботаника
- Бухгалтерия
- Военная наука
- Генетика
- География
- Геология
- Демография
- Деревообработка
- Журналистика
- Зоология
- Изобретательство
- Информатика
- Искусство
- История
- Кинематография
- Компьютеризация
- Косметика
- Кулинария
- Культура
- Лексикология
- Лингвистика
- Литература
- Логика
- Маркетинг
- Математика
- Материаловедение
- Медицина
- Менеджмент
- Металлургия
- Метрология
- Механика
- Музыка
- Науковедение
- Образование
- Охрана Труда
- Педагогика
- Полиграфия
- Политология
- Право
- Предпринимательство
- Приборостроение
- Программирование
- Производство
- Промышленность
- Психология
- Радиосвязь
- Религия
- Риторика
- Социология
- Спорт
- Стандартизация
- Статистика
- Строительство
- Технологии
- Торговля
- Транспорт
- Фармакология
- Физика
- Физиология
- Философия
- Финансы
- Химия
- Хозяйство
- Черчение
- Экология
- Экономика
- Электроника
- Электротехника
- Энергетика
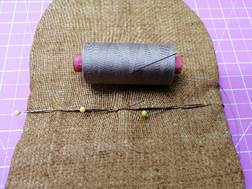
Hoop up a few layers of washaway stabiliser. Use the woven variety as it works the best. Load design onto your machine. Use applique scissors to trim the batting and applique.
Hoop up a few layers of washaway stabiliser. Use the woven variety as it works the best. Load design onto your machine. Use applique scissors to trim the batting and applique.
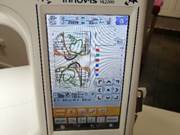
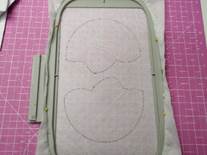
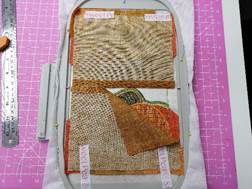
STEP 1 Stitch the placement lines for the batting.
STEP 2 Place Insul-Bright Batting 1 on top of the hoop and stitch down.
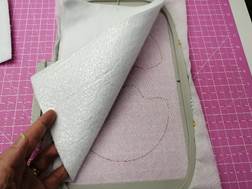
Remove the hoop from your machine and trim the batting about 1-2mm from the stitching.
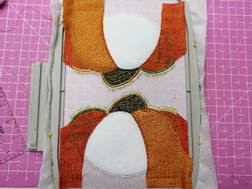
STEP 3 Stitch the placement lines for Fabric A.

STEP 4 Place Fabric A right side up on top of the hoop covering the placement lines. Stitch down.

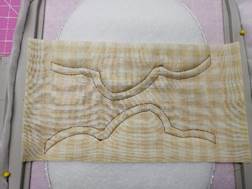
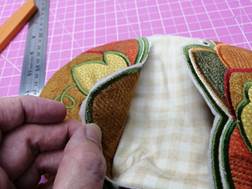
Remove the hoop from your machine and trim the fabric about 1-2mm from the stitching. Leave the rest of the fabric in the seams.

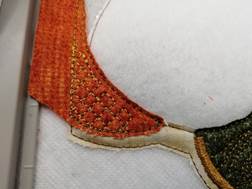
STEPS 5 & 6 Repeat the applique process with the stems using a piece of fabric large enough to cover the placement lines. Trim.


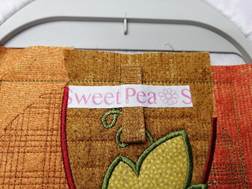
STEP 7 Embroider the detail and satin stitch around the stems.
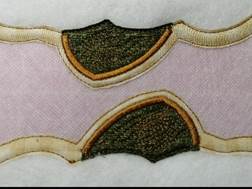
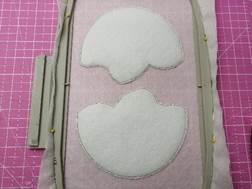
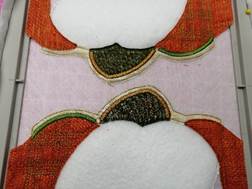
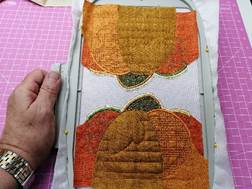
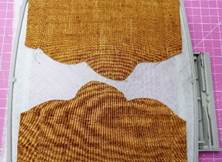
STEPS 8 & 9 Repeat the applique process with the first piece of pumpkin using Fabric B. Trim, leaving the excess fabric in the seams.
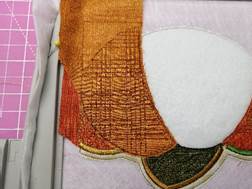
STEPS 10 & 11 Embroider the quilting, then embroider the satin stitch around the pieces.


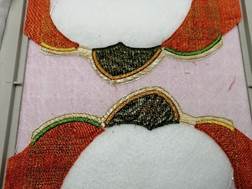
STEPS 12 & 13 Repeat the applique process with the second piece of pumpkin using Fabric C. Trim, leaving the excess fabric in the seam.
STEPS 14 & 15 Embroider the quilting, then embroider the satin stitch around the pieces.
STEPS 16 & 17 Repeat the applique process with the third piece of pumpkin using Fabric D. Trim, leaving the excess fabric in the seams.
STEPS 18 & 19 Embroider the quilting, then embroider the satin stitch around the pieces.
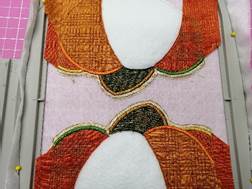
STEPS 20 & 21 Repeat the applique process with the fourth piece of pumpkin using Fabric E. Trim, leaving the
excess fabric in the seam.
STEPS 22 & 23 Embroider the quilting, then embroider the satin stitch around the pieces.

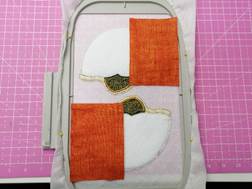
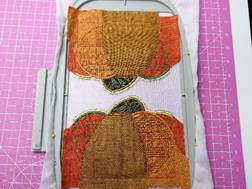
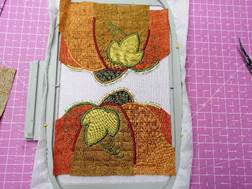
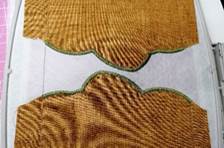
STEPS 24 & 25 Repeat the applique process with the leaves using Fabric F. Trim.


STEP 26 Embroider the satin stitch around the leaves.
Remove the hoop from the machine and flip the hoop over so the wrong side of the hoop is facing up. Trim any long threads. Place Lining 1 on top of the underside of the hoop facing right side up. Make sure it covers all the stitching. Tape in place.
STEP 27 Return the hoop to the machine and stitch down.
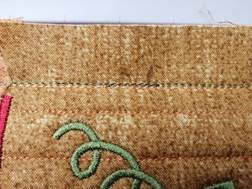
Remove the hoop from your machine and trim the fabric about 1-2mm from the top stitching. Leave the rest of the fabric in the seams.
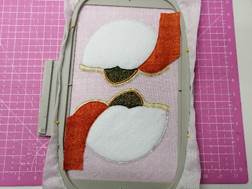
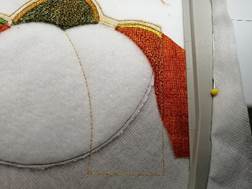
STEP 28 Embroider the satin stitch along the top of the pumpkins. OPTIONAL Change your bobbin thread to
match the satin stitch edging.
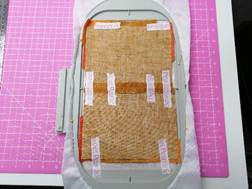
Remove the hoop from the machine and flip the hoop over so the wrong side of the hoop is facing up. Place Fabric G on top of the wrong side of the hoop, wrong side up, covering all the stitching. Then place Insul-Bright Batting 2 on top of the Fabric G.
STEP 29 Return hoop to machine and stitch down.

STEP 30 Stitch the placement line for the hanging loop.

STEP 31 Fold your ribbon or Fabric H (made earlier) in half to form a loop. Place the raw edge of the loop centred on top of the placement line. The loop should be pointing towards the centre of the hoop. Tape in place. Stitch down.

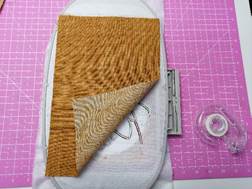
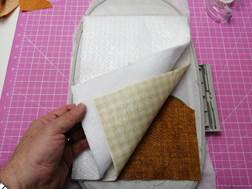
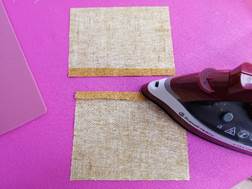
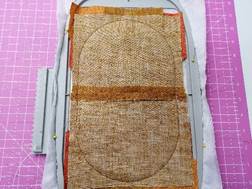
Lay one of your Lining 2 pieces wrong side up on top of your worksurface.
Fold over one of the long edges about ½ ”, wrong sides together. Press with the iron. Repeat this same process for the second Lining 2 piece.
Place one of the Lining 2 pieces wrong side up on top of the of the hoop. Have the fold meeting in the middle of the hoop and then the excess fabric towards the outside of the hoop. (See picture below).
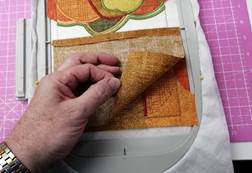
Then place the second Lining 2 piece wrong side up on top of the hoop. Again, have the fold about in the middle of the hoop, but overlapping the first Lining 2 piece by about ½ ”. (See picture below)

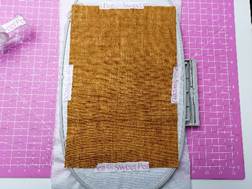
STEP 32 Tape the two pieces down and stitch down.
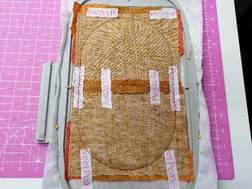
STEP 33 Stitch again with the triple stitch to secure the seam. Remove the tape.
Remove from the hoop.
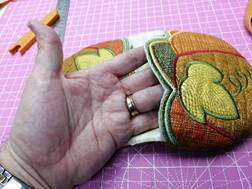
Trim the seams to about ¼ inch. Clip into the curves. Turn the right way out. Use a pointy implement such as “That Pink Thang” to help push out the curves.

Hand stitch or glue the opening closed.
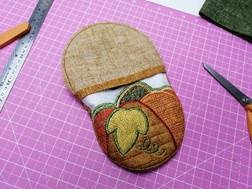
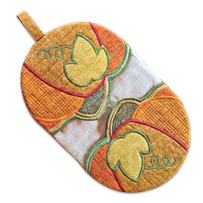
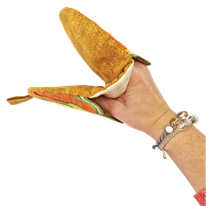
Trim the excess washaway from the top of each pumpkin to open the hand pockets.
Soak the washaway stabiliser (you can use a Colour Catcher if you feel that your fabrics may bleed) and wash out according to the manufacturer’s instructions. Lay flat on an absorbent surface to dry.
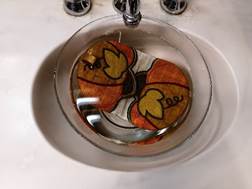
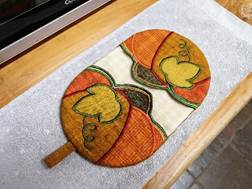
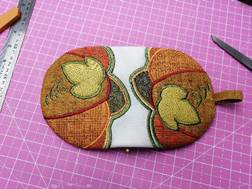
Press again when dry. Enjoy your oven mitt.
NOTE: Follow the manufacturer’s recommendations as to how many layers of thermal batting (we used Insul-Bright) to use for safe contact with hot oven trays and equipment.
|
|
|
© helpiks.su При использовании или копировании материалов прямая ссылка на сайт обязательна.
|